To connect your DaVinci Lock® facility to Web Self Storage (WSS):
- Sign in to Web Self Storage with your credentials.
- Obtain the Input Entity Number (Affiliate Code) for the facility you want to connect.
- Sign in to your DaVinci Lock® account.
-
Before integrating an existing facility, add a payment method and review your invoice groups. Integrated facilities are automatically assigned to the Default invoice group unless you choose to assign them to a different group. Please note that starting the integration will enroll the facility in a subscription.
You can review the Subscription FAQs for additional billing information. - Click “Facilities” and add a facility or locate the facility to be updated. Select the Edit Facility pencil icon in the Actions column. Do not select the facility name.
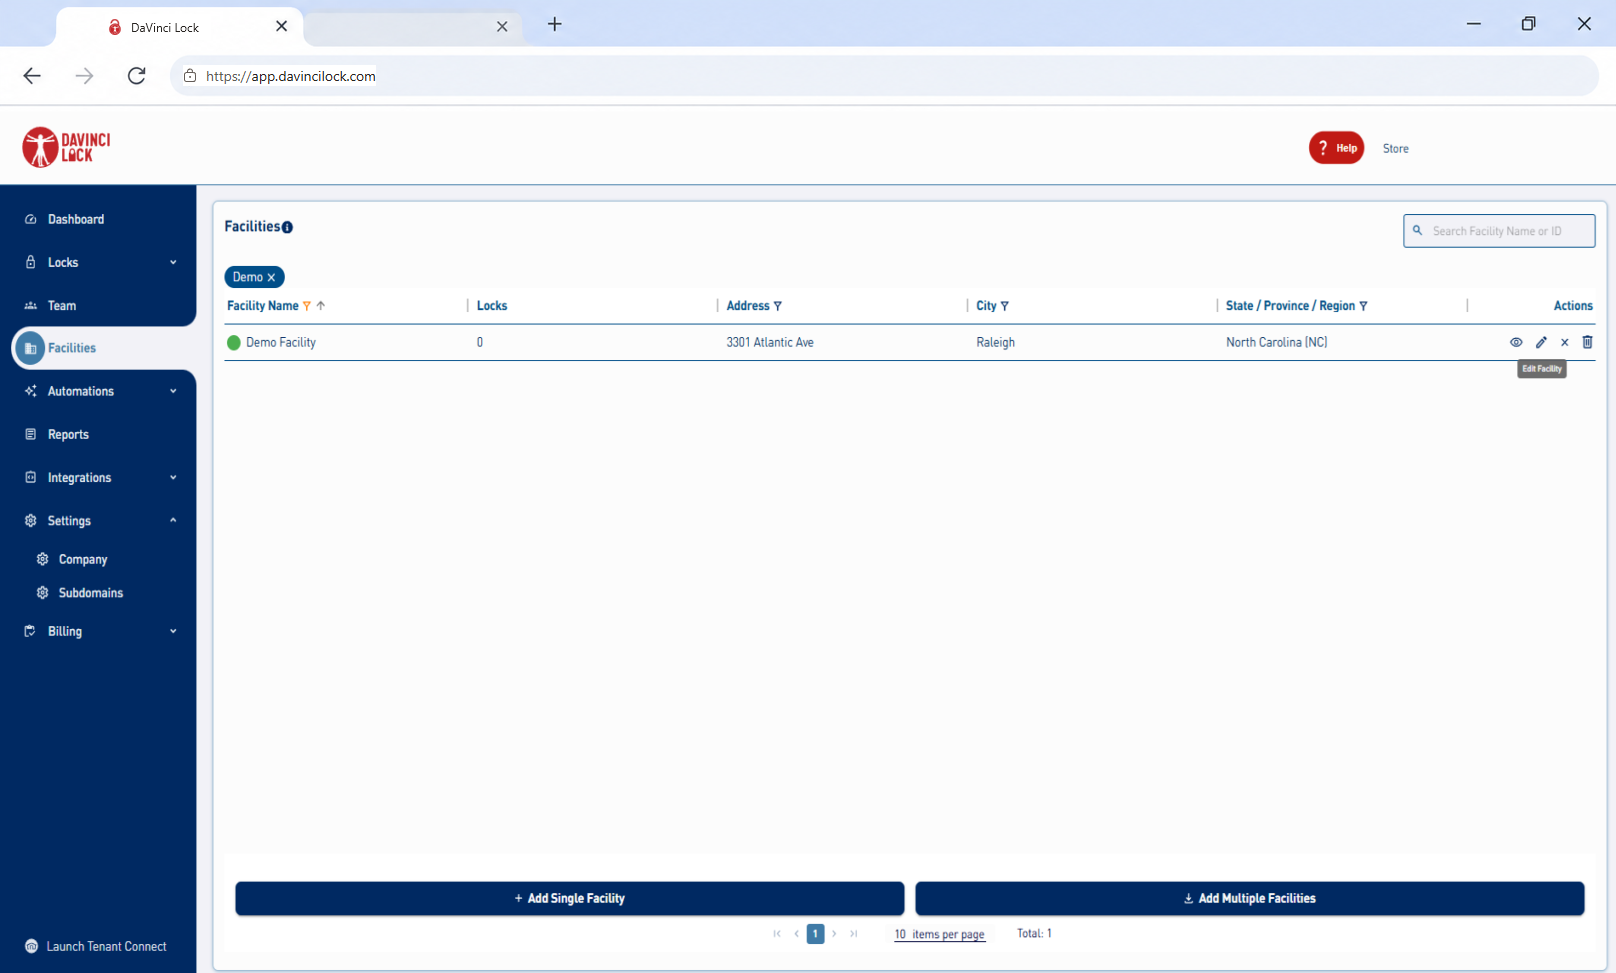
6. Select "WebSelfStorage" as the facility management software and add the “Input Entity Number”.
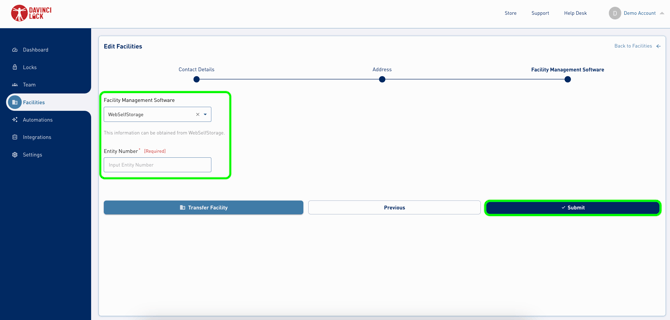 7. Click “Submit” to save.
8. Create a DaVinci Lock API Key. Enable access to the facilities to be integrated.
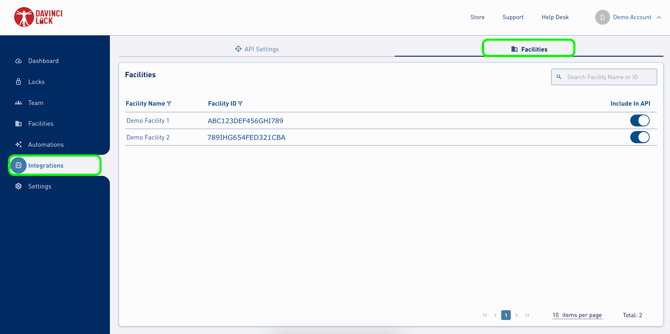
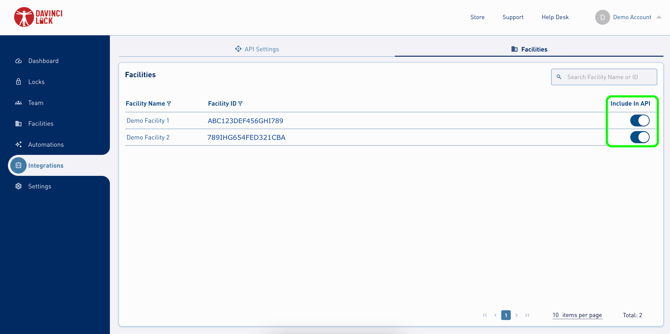
9. Click "Integrations", navigate to the "Facilities" tab. Confirm the "include in API" is toggled on for each key.
10. In Web Self Storage navigate to "Facility", then "Operation Rules" to turn on the operation rule for each location.
11. In Web Self Storage navigate to "Facility", then "Lock Systems" to add the API information created within the DaVinci Lock® portal.
- Use login page URL: https://api.davincilock.com/auth/wss/login
- The Facility ID can be found in "Integrations" > "Facilities"
- The API Key & Secret can be found in "Integrations" > "API Settings"
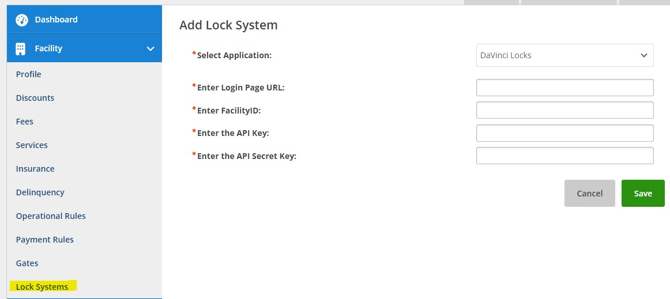
12. Click "Save" to verify the values are valid. A list of facilities you can integrate with DaVinci Lock® will be displayed.
13. Repeat steps 9 & 10 in Web Self Storage for each facility to be integrated.
*Clicking the number listed under "Assigned Rooms" will display locks assigned to a room/unit.
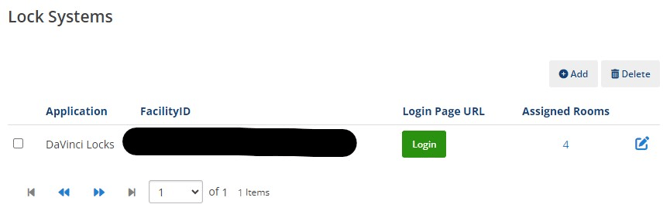
Congratulations! DaVinci Lock® is now connected to Web Self Storage (WSS).